In this article:
Adding Lyrics to your Act
Adding Lyrics to your Act
After adding a reference track to the Timeline, we can start adding the corresponding lyrics into the Lyrics Track. See also: Add and Share Media
- Select the Lyrics Track by clicking on this icon on the left of the Timeline:

Select the Cues List to see the Lyrics Track's Cues.
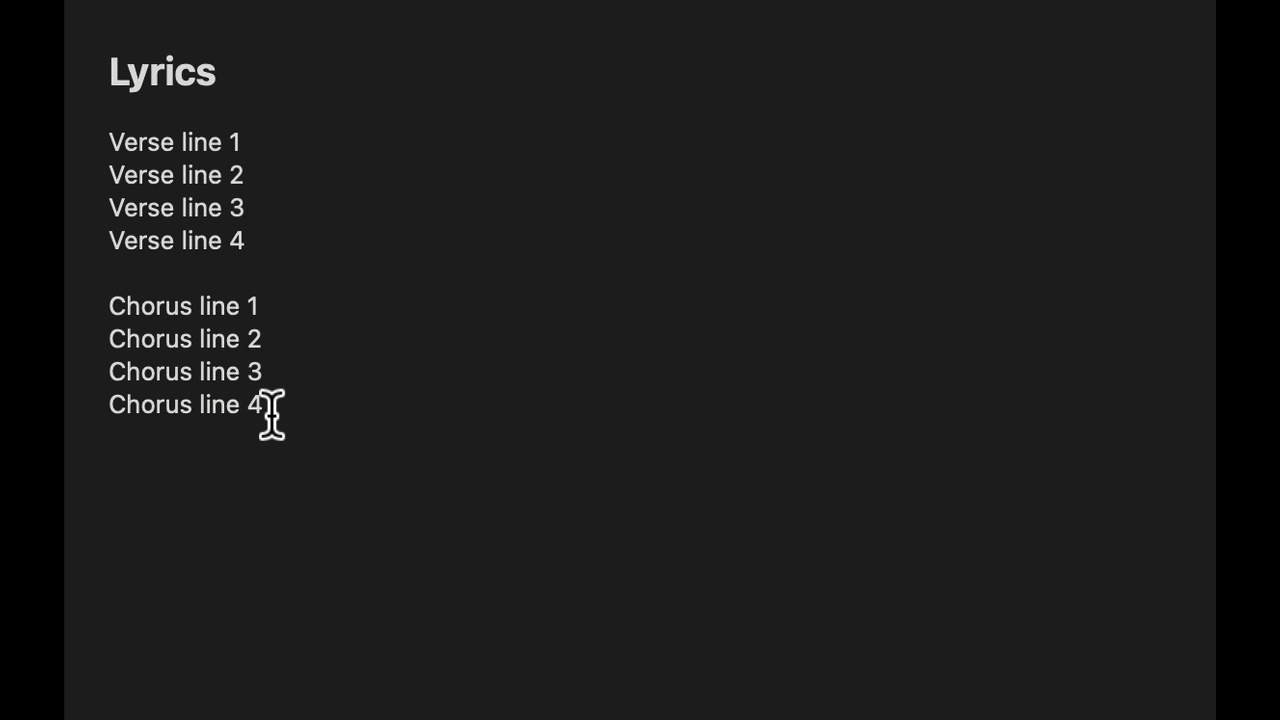
With the Lyrics Track selected and Cues List shown, you'll see a white text entry box. - Copy your text from any source, such as an email, document or website.
Paste your lyrics text into the white text entry box.
Tip: Clean up the plain text by removing any line breaks and empty lines. Ensure each new line of lyrics is on a new line by pressing return and remove unnecessary spaces. Lyrics cues are added to the Timeline, line by line. - Insert a line of lyrics to the Timeline. Position the Playhead to be where you want the first line to be inserted and select the In button or use the keyboard shortcut. (Mac/PC: I)
The first line of lyrics will be inserted on the Timeline, starting at the Playhead. - Adjust the out point of a line of lyrics, by playing through the Timeline and stopping the Playhead where you want the lyrics to end. Then select the Out button, or use the keyboard shortcut. (Mac/PC: O)
Continue adding the lyrics, line by line. - You can adjust the start and end point of each Lyrics Cue. Select the Lyrics Cue you want to adjust and it will become highlighted. Hold down the Shift key. You'll see drag bars at the start at end of the Cue. Holding down the Shift key, click and drag the start to adjust where the Lyric Cue should start. Click and drag the end to adjust where it should ends, this will extend or shorted the text on screen to help visually illustrate how long the Lyrics Cue goes for.


Learn more:
Video Tutorial: Adding Media & Lyrics...
Moving Cues...